Managing KVM Virtual Machines with Cockpit
Table of Contents
Introduction
Currently, I’m trying to use virtual machines and containers as much as possible. But, as I use multiple devices, I wanted to be able to manage those virtual machines easily from any of those machines. My idea was to use a laptop I had laying around for that purpose, so I started researching about the options I had and there were a couple of interesting options such as VMware, Proxmox and oVirt. I ultimately decided to use Cockpit to manage KVM virtual machines on the host. Cockpit is a web-based interface to manage servers, not a virtualization focused application like the mentioned options, but it has a module for VM management.
There’s not a strong reason for that choice and I may test the other options in the future. It’s just that it seemed faster to start using it since I already had Pop_OS! installed on the laptop and I decided to install Cockpit on top of that. I knew it lacks a lot in terms of features compared to the other options, but I thought it was OK because this was my first experience with KVM. I knew what KVM is and was interested in trying it out, so I thought it would good to have to do things manually whenever Cockpit didn’t support something I’d like to do.
Preparation
Lid
I first setup my laptop to work with its lid closed so I could save on space by putting it on a stand that keeps the laptop in the vertical position.
I just had to edit the /etc/systemd/logind.conf file and make sure HandleLidSwitch is uncommented with the ignore value as below:
HandleLidSwitch=ignore
And restart the corresponding service:
$ systemctl restart systemd-logind.service
SSH
Next, I instaled SSH:
$ sudo apt install ssh

# at this point, the server should be up and running. Checking it, just in case:
$ sudo systemctl status ssh
And created the authorized_keys file to allow access from the PC I use the most:
$ mkdir .ssh
$ cd .ssh/
$ touch authorized_keys
$ vim authorized_keys
Hostname
I also changed the hostname as the original name was not appropriate anymore:
# well, not sure I can consider this a homelab, but it's easy to remember :D
$ sudo hostnamectl set-hostname homelab
I also edited the /etc/hosts file and replaced the reference to the old hostname. That line looks like this now:
127.0.1.1 homelab
Checking Virtualization Support
A standard installation of Cockpit will not contain the module to manage virtual machines. Because my main goal is to use Cockpit for this specific purpose, I first checked that my CPU supports hardware virtualization.
This was done with the following command:
# if the command below returns 1 or more, it means virtualization is supported.
$ egrep -c '(vmx|svm)' /proc/cpuinfo

# Another alternative is to use the following command:
$ kvm-ok
In my case, as virtualization is supported, kvm-ok returned an output like this:
INFO: /dev/kvm exists
KVM acceleration can be used
kvm-ok will even show an alert in the case virtualization is supported, but it’s disabled in the BIOS. In this case, it should be activated to enable virtualization at full speed.
Installation
The Cockpit installation itself was extremely simple:
$ sudo apt update
$ sudo apt install cockpit
I also installed the following package, so I could manage virtual machines:
$ sudo apt install cockpit-machines
The corresponding service should be started after the installation and we can confirm through the command below:
$ systemctl status cockpit
Compared to the Ubuntu KVM installation tutorial, this procedure didn’t install the bridge-utils package which I may install later to allow virtual machines to access the local network directly.
That same tutorial also mentions the need to add the user to the libvirtd group, but it was already done after the installation without me having to do anything.
I could also have installed Virt-Manager that seems to be a much more feature-rich than the Cockpit’s VM management module. Although Red Hat is recommending the use of Cockpit instead of Virt-Manager, it’s still under development.
But, for now, I will stick to using Cockpit because, as I said before, I’m interested in doing everything Cockpit doesn’t support manually, through the command-line.
Cockpit Interface
We can access Cockpit through the port 9090 on the host:
https://ip-address:9090/
The browser will display a warning since we are dealing with a self-signed certificate. I safely skipped it since I’m only accessing Cockpit on my local network. Then, the login screen is displayed:
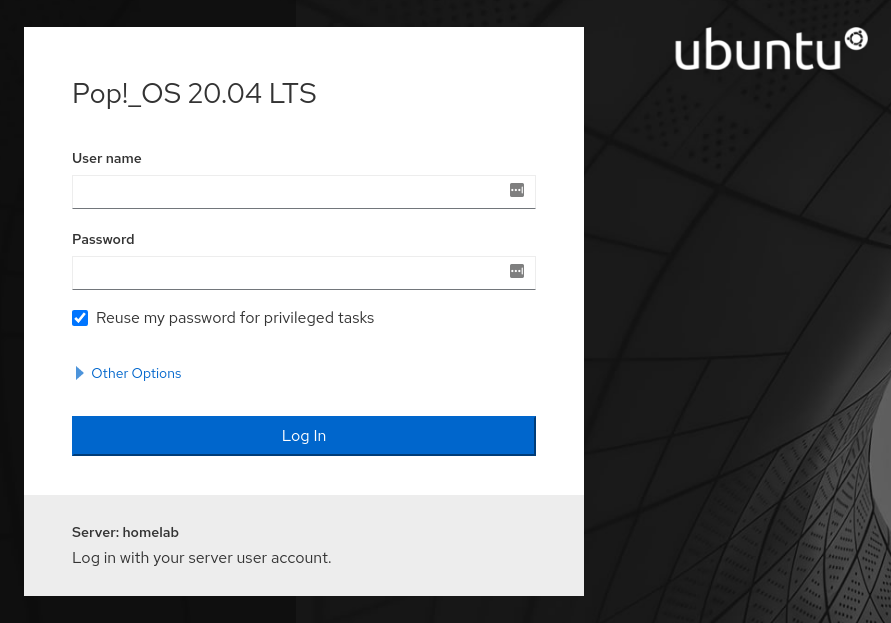
We just need to provide our credentials on that machine. The Reuse my password for privileged tasks option, as it suggests, makes the same credentials to be used for tasks such as installing updates, so we don’t have to provide the same credentials again.
Once logged in, we can check the VM management interface where we can check information about our machines and change their state:
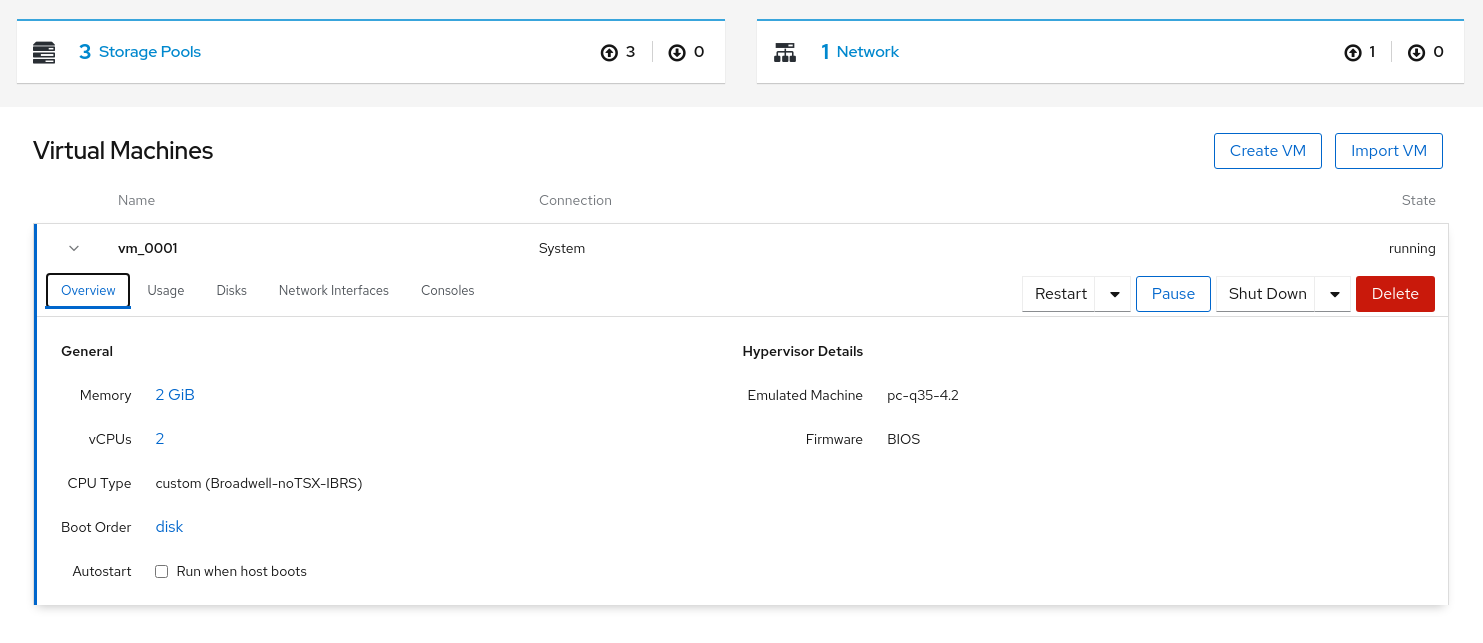
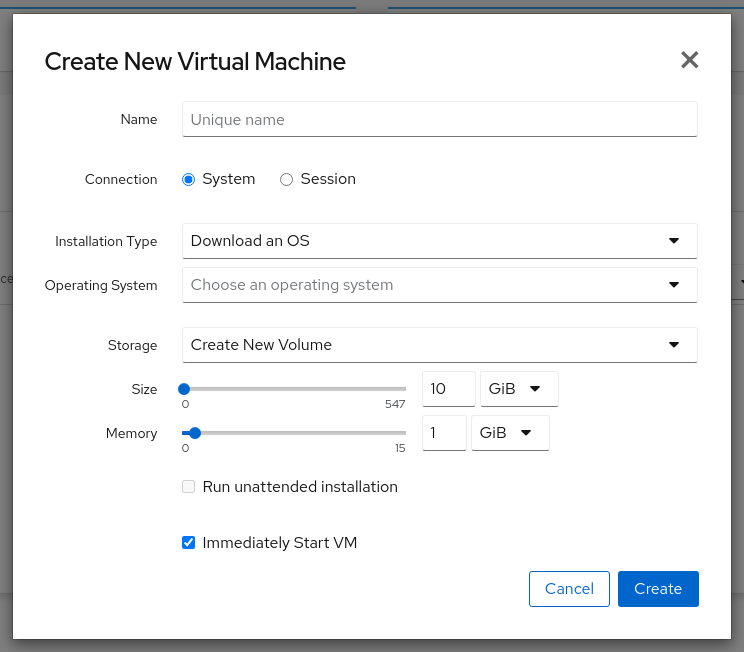
We can also create new virtual machines and access them through the Consoles tab:
It also provides a Terminal menu that gives us shell access to the host what can prove to be convenient.
Impressions
For my impressions, at least in terms of virtual machine management, Cockpit certainly feels lacking for now and development doesn’t seem to be that fast. If it was not for my goal of knowing more about KVM it would probably not make that much sense.
That said, it seems enough for my home usage. It’s nice to be able to have a glance on the existing virtual machines as it gives visibility on what is going on in the host. I will probably not use much of its features outside managing virtual machines, but being able to do simple checks and management tasks from a web interface is very convenient.
Edits
Session Timeout
December 6th, 2020
Cockpit automatically log us out after 15 minutes of inactivity. We can configure this session timeout, in minutes, by editing the /etc/cockpit/cockpit.conf file (it may be necessary to create it) with a content like the following:
[Session]
IdleTimeout=180
Source: https://cockpit-project.org/blog/cockpit-209.html
Update from Backports
December 6th, 2020
As of now, 215 is the most recent version of Cockpit available in the Ubuntu 20.04 repositories, even though the most recent version of the application itself is 233. To update to a more recent version, the easiest way is to install the version (currently 231) from the Backports repository. I use the command below to update the Cockpit’s version and resolve its dependencies from Backports:
sudo apt install -t focal-backports cockpit cockpit-machines
Source: https://help.ubuntu.com/community/UbuntuBackports#Using_Backports